How to Cut Fabric for Quilting: A Beginner’s Guide
Getting started on your first quilt? One of the most important and helpful skills to learn is how to cut fabric for quilting accurately.
Clean, straight cuts make all the difference in patchwork that lines up beautifully and quilt blocks that fit just right. And don’t worry, once you have your basics down, it all starts to click!
In this friendly guide, we’ll walk you through how to measure and cut fabric for quilting, with tips to keep things safe, simple, and beginner-friendly. With a little prep, the right tools, and a calm mindset, you’ll be cutting with confidence in no time!
How to Cut Quilting Fabric, Tools for Beginners
Before we start snipping, let’s make sure you’ve got the basics. When learning how to cut quilting fabric for beginners, here’s what you’ll need:
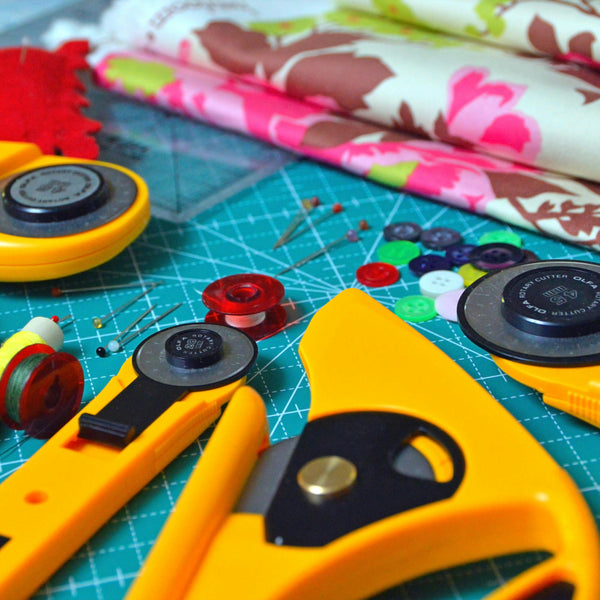
- A rotary cutter (we recommend starting with a 45mm size)
- A self-healing cutting mat
- Acrylic quilting rulers (a 6" x 24" ruler is a great first one)
- Fabric-safe iron or pressing tool
- Sharp replacement blades
- A tailor’s tape
- A little patience and a cuppa on the side
Not sure where to begin shopping? You’ll find the essentials in our quilting supplies online Australia collection, along with beautiful fabrics that are perfect for your first (or fiftieth!) quilt.

Steps on Prepping Your Fabric
1. Choose Your Fabric & Quilt Pattern
If this is your first project, quilting cotton is a dream to work with – it’s easier to handle and more forgiving than slippery fabrics.
Unsure where to start? Our guide to buying Moda fabrics is a great place to explore coordinated bundles.
2. Smooth Things Out
Once you’ve picked your fabrics, give them a good press with a hot iron. Some quilters pre-wash, others don’t. There’s no right or wrong, but all you want is a smooth surface that will work with you.
3. Prep Your Space
Next, make sure your cutting space is clean and well-lit. Use a cutting mat to protect your surface and line everything up neatly.
Get Snipping: How to Cut Fabric Straight for Quilting
- Lay your fabric flat on your cutting mat, folded selvage to selvage. Keep the edges aligned and smooth out any wrinkles.
- Line up the folded edge with a horizontal line on your cutting mat.
- Place your ruler vertically and trim the raw edge to square up your fabric. This becomes your new starting point.
- Measure twice, cut once – a quilter’s golden rule. Double-check your measurements before making each cut.
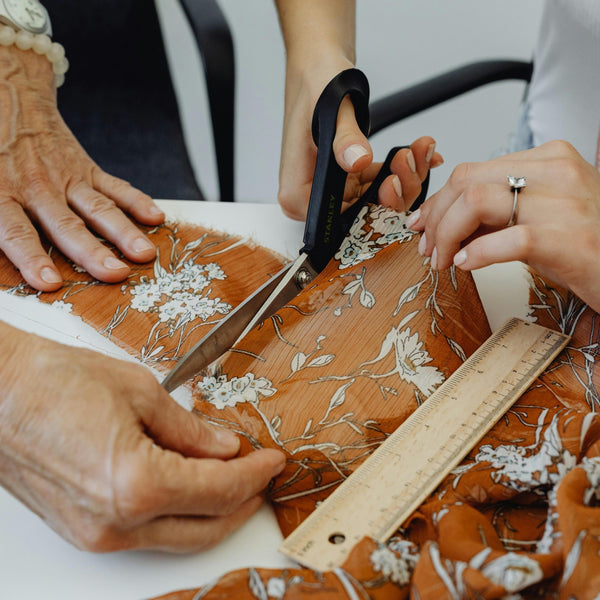
- Hold the ruler steady with your non-dominant hand and use your rotary cutter to cut with your dominant hand, always cutting away from your body.
- Take your time! Accuracy matters more than speed.
Cozy Corner Quilts Tip: Rotary cutters are sharp, so always keep your fingers clear of the blade. If you’re nervous, consider using a safety glove on your guiding hand.
How to Cut Fabric Squares for Quilting
Now that you know how to cut fabric straight for quilting, it’s time to turn your strips into squares.
- Lay the strip flat on your mat and measure the width of your square (for example, 5" for a charm square).
- Line up the ruler, hold it steady, and make your cut.
- Keep going until you have all the squares your pattern calls for.
This is how most patchwork quilts begin. Explore how you can combine patchwork and quilting by starting with our ‘What is Quilting’ guide.

Cozy Corner Quilts Bonus Tips
- Always cut with a sharp blade, as a dull one can tug on the fabric and create jagged edges.
- Use the lines on both your ruler and your mat to double-check your cuts.
- Start small and watch your fingers, you’ll be a pro in no time!
- Practice with fabric scraps before cutting into your favourite prints.
- Don’t panic if it’s not perfect. Quilts are made with love, not perfection.
Just getting started? Explore our beginners’ quilting kits for project ideas to get you going.
Feel the Spark? Get Quilting!
Learning how to cut fabric for quilting is a big step, and one that opens the door to a whole world of handmade joy. Whether you’re cutting fat quarters, charm squares, or border strips, just remember: a little care and patience at this stage goes a long way.
Ready to stitch up something special? Let’s turn those ideas into something beautiful.


